Doing your eyebrows every day can be tiring. If you want to save some time in the morning but you cannot afford permanent make-up, you can still make your eyebrows beautiful for at least 2 weeks thanks to henna. Check how to tint your eyebrows at home. It’s easy!
Henna has been known for many centuries in the Middle East. As a matter of fact, henna in the Middle East is one of the most popular beauty treatments included in the tradition. What is it about henna that today it’s experiencing its renaissance so that it’s used also in the West?
Eyebrow henna – advantages
The possibility of getting a permanent colour seems to be the biggest advantage of henna. Correctly applied, enables you to dye your hair and the skin between so that the effect is semipermanent. It means that the effect lasts from 2 to 4 weeks. During this time, you don’t have to darken your eyebrows.
Few people know that natural henna also has other advantages:
- it is rich in calcium, magnesium, potassium, zinc, iron and copper;
- gives the skin a pleasant softness;
- regularly applied nourishes and strengthens eyebrows;
- protects delicate hair from harmful factors.
Remember! All of the above properties apply only to natural henna, i.e. powdered leaves of Lawsonia inermis. Most of products available in drugstores are chemical mixtures, not natural, therefore they can harm instead of nourishing and strengthening our eyebrows.
Henna preparation
Before we start tinting eyebrows with henna, we need a cosmetic with the right consistency. We have two options and each of them requires a different preparation, so it’s worth considering what type of henna will be applied to your eyebrows beforehand. Natural or synthetic?
- Natural Henna – greenish powder from dried Lawsonia leaves has colouring properties only after mixing with lemon juice. It’s also necessary to have some water to add it to obtain a proper consistency. The addition of essential oils gives henna a beautiful fragrance and a bit of sugar will allow you to make it more sticky so that it stays on your eyebrows. The preparation of natural henna is quite difficult.
- Synthetic Henna – it requires a special, dark paste to be mixed with hydrogen peroxide. The ready-made product contains all of the necessary ingredients and an instruction on how to do it properly.
It is only when we have a ready mix that we can begin tinting eyebrows. Is it difficult? No, if we know what to do step by step.
Eyebrow henna – step by step
- Remove your make-up
It is necessary to apply henna on clean eyebrows. It’s good to use a delicate micellar water because all cosmetics based on oils can later influence the end result. In general, the skin must be clean and dry in order to begin. - Protect the skin
The next step involves applying a small amount of fat cream on the skin around the eyebrows. Then, if we accidentally touch outside of the contour, the pigment will not get into the skin. - Apply henna
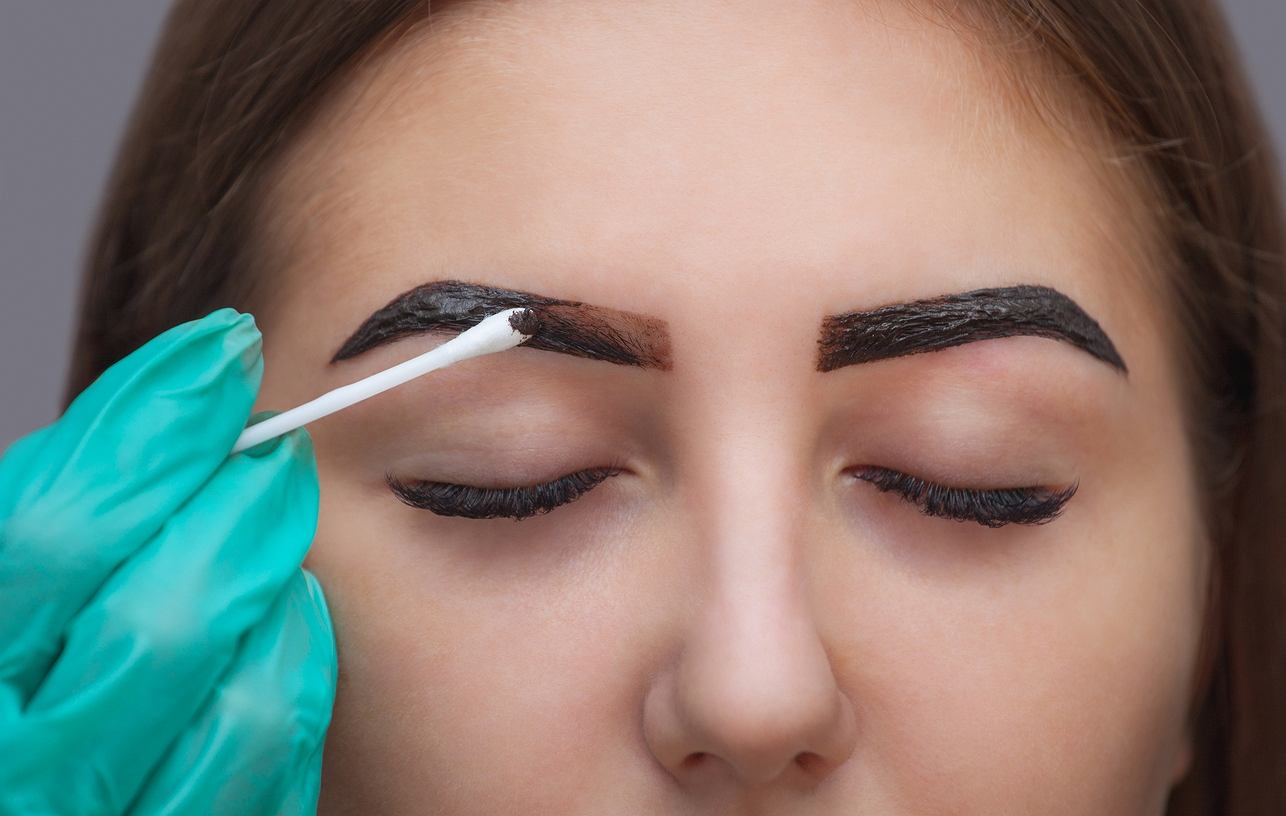
The most important stage is applying the previously prepared henna on the eyebrows. Many products are equipped with plastic spatulas to facilitate this process. However, an angle brow brush will work much better. How to apply henna? Cover the entire brow arch so that henna will determine its shape. Remember to mark the edges. - Wait until henna works
How much time do you need to keep henna on your eyebrows? Depending on the product, the time required for dyeing may vary, so you should be guided by what is written on the packaging. Depending on the effect we expect, it can be from 2 to 10 minutes. You should not exceed this time, because your eyebrows may be too dark and exaggerated. - Wash henna off
In general, you should not use make-up removals so that not to damage the results. It’s recommended to wash henna with a cotton pad soaked in warm water. Alternatively, if henna does not want to rinse, use soapy water.


Leave a Reply